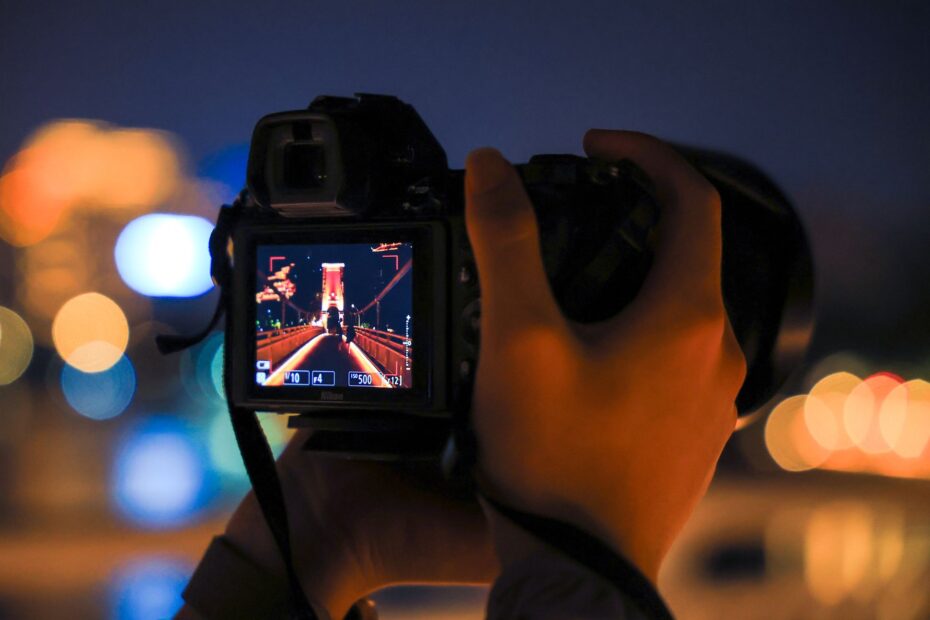
A lens opening from f/1.4 to f/16 controls sensor light, depth of field, background rendering, and shutter-speed choices. Shift from f/8 to f/1.8, and your camera gathers more light while the sharp area around a portrait subject becomes much thinner.
You’ll learn how f-stops affect portraits, groups, landscapes, action, low-light scenes, lens blur, and exposure settings on cameras and smartphones.
The Lens Opening Controls Incoming Light
Thin metal blades inside an interchangeable lens form the Iris diaphragm. Those blades sit behind the front glass and ahead of the sensor, opening or closing to regulate the light entering your camera.
The Iris Diaphragm Changes Light Flow
It is the adjustable opening inside your lens. A Wide aperture leaves a larger opening for light, while a Narrow aperture leaves a smaller opening. At the same Shutter speed and ISO, a wider opening produces a brighter exposure.
You adjust this setting with a control dial in Aperture Priority mode, marked A or Av on many cameras. Canon EOS R System bodies show the selected f-number on the rear screen or electronic viewfinder, so your chosen setting remains visible while you frame the scene.
Manual mode gives you direct control over aperture, Shutter speed, and ISO. Program mode selects an f-number for you unless you shift the program line. Each mode changes who controls the exposure triangle, not how the lens opening behaves.
Three Visible Results Follow Each Setting
Light is only one result. It changes sensor brightness, Depth of field, and subject separation because the same physical opening affects each result at once.
- More lens light gives your sensor a brighter exposure at a fixed ISO and Shutter speed.
- Thinner sharp zone leaves a smaller slice of distance in focus around your selected focus point.
- Stronger separation lets your subject stand apart from a softer foreground or background.
- Less lens light requires a slower Shutter speed or higher ISO to hold the same brightness.
Your lens also has physical limits. A 50mm f/1.8 lens opens to f/1.8, while a 24-105mm f/4 lens opens to f/4. Neither lens opens beyond its stated maximum, and some compact lenses do not close as far as f/16.
Those limits matter before your camera enters a dim room or faces a distant landscape. The number printed on the lens barrel tells you how much light and shallow-focus potential your equipment physically has.
Because that label works backward, a smaller f-number indicates a wider physical opening.
F-Stops Follow an Inverse Number Scale
The scale feels backward at first: f/1.8 is wide, while f/16 is narrow. An f-stop is a ratio between Lens focal length and opening diameter, so the number rises as the physical opening gets smaller.
The F-Number Runs Opposite to the Opening Size
F-stops and f-numbers explained in simple terms come down to fractions. A smaller denominator produces a larger fraction, so 1/1.8 describes a larger opening than 1/16. Your camera does the geometry; you only need to recognize the direction of the scale.
Each full f-stop changes the incoming light by a factor of two. Move from f/2.8 to f/4, and the sensor receives half as much light. Shift from f/4 to f/2.8, and the sensor receives twice as much.
| F-stop | Light reaching sensor | Visible focus effect |
|---|---|---|
| f/1.8 | Highest amount in this table | Very shallow Depth of field |
| f/2.8 | Half the light from f/1.8 | Shallow focus with more tolerance |
| f/4 | Half the light from f/2.8 | Moderate subject isolation |
| f/5.6 | Half the light from f/4 | Useful depth for small groups |
| f/8 | Half the light from f/5.6 | Broad front-to-back sharpness |
| f/11 | Half the light from f/8 | Deep focus with Diffraction risk |
F/1.8 and F/2.2 Fit Different Scenes
F/1.8 is not automatically better than f/2.2. At f/1.8, your lens admits more light and produces a thinner focus plane. A busy restaurant wall can turn into soft color behind a face.
At f/2.2, you give up a small amount of light but gain more focus tolerance. Your subject’s nearer eye and eyelashes have a stronger chance of staying inside the sharp area, especially at close portrait distance.
Think of f-stops as visual trade-offs rather than quality grades. Wider settings favor light and isolation, while narrower settings favor focus depth. That trade-off carries directly into your next exposure choice.
Exposure and Focus Depth Change at the Same Time
A wider setting can turn a shaky 1/30-second indoor frame into 1/125 second without changing ISO. That faster Shutter speed reduces blur from your hands and from a moving subject.
The Exposure Triangle Shares the Work
Aperture, Shutter speed, and ISO form the Exposure triangle. Opening the lens brightens the frame, so you can shorten exposure time or lower ISO. Closing the lens darkens the frame, so your camera needs a slower shutter or higher ISO for equal brightness.
Aperture and exposure settings work through compensation. Shift from f/4 to f/2.8, then move Shutter speed from 1/125 to 1/250 second for the same exposure. Your portrait gains softer background rendering without a brighter face.
ISO changes sensor amplification rather than lens light. Raising ISO from 400 to 800 can rescue an f/8 group photo indoors, though visible noise and reduced highlight detail can appear at higher settings.
Depth of Field Extends Through the Scene
Narrower settings place a deeper span of distance inside acceptable sharpness. At f/11, a rock near your feet, a trail bend, and distant mountains can all appear clear when your focus point and shutter speed suit the scene.
How aperture affects depth of field also depends on focus distance. The sharp area reaches farther behind your focus point than in front of it. Landscape photographers use hyperfocal distance to place that sharp span where it serves the frame.
Your lens cannot place every distance in equal focus through aperture alone. A foreground flower two feet away and a mountain several miles away place different demands on focus distance, sensor size, Lens focal length, and f-stop.
Bokeh Describes the Quality of Blur
Softness behind your subject is not automatically Bokeh. Bokeh describes the character of out-of-focus areas, such as whether foliage looks smooth, edges look harsh, or streetlights form calm circles.
Aperture blade count and blade shape affect point-light highlights. A lens with nine curved blades tends to form rounder discs than a lens with five straight blades, especially after you stop down from the widest setting.
At f/1.8, focus errors of a few inches can move an eye outside the sharp plane. Use a fast Shutter speed, then inspect critical focus at high magnification after a demanding portrait session.
That thin focus plane makes background blur attractive, but it also makes your subject placement and autofocus technique less forgiving. Lens geometry adds another visual factor.
Distance and Lens Focal Length Shape Background Blur
A person photographed at f/2 can stand out sharply or barely separate from the background. The f-number matters, yet Lens focal length and distance can change the result just as strongly.
Distance Changes Subject Separation
Longer focal lengths produce a narrower angle of view and stronger apparent background blur at matched framing. An 85mm portrait lens at f/2 isolates a face more readily than a 24mm lens at f/2 from the same shooting position.
Camera-to-subject distance also changes Depth of field. Move closer to your subject, and the sharp zone becomes thinner. Step back, and more of the scene falls inside that zone at the same focal length and f-stop.
Subject-to-background distance has an equally visible effect. Place a portrait subject 12 feet from a wall rather than 2 feet from it, and the wall loses detail because it sits farther outside the focus distance.
Sensor Size Changes Framing Choices
A tighter crop alters how blur appears in the final image. A full-frame camera uses a longer focal length or closer position than an APS-C camera for the same composition, and that setup can produce shallower Depth of field.
Your phone has a small sensor and a very short lens, which gives deep optical focus. Portrait mode adds software blur, but stray hair, eyeglass edges, and transparent objects can reveal where computational masking struggles.
Wide Settings Need Deliberate Focus
For a close portrait, place the active autofocus point on the nearest eye. At f/1.8, the far eye can soften naturally, but the near eye needs crisp detail because it anchors the expression.
- Use single-point focus for still portraits so your camera does not select a nearer shoulder or hand.
- Limit recomposing movement because a slight camera swing can shift the sharp plane away from the eye.
- Select continuous autofocus for walking subjects, children, pets, and faces moving toward or away from you.
- Watch shutter speed because accurate focus cannot repair blur from a 1/20-second hand-held exposure.
- Leave background space so distant lights, leaves, and texture soften behind your subject.
Try an 85mm portrait at f/2.8 from about 6 feet away, with your subject 10 feet from a brick wall. You will see clear separation without relying on the extremely thin focus plane of f/1.2.
Those geometry choices give you more control than opening the lens without a purpose. Scene-based starting points bring that control into practical shooting decisions.
Scene Needs Set Useful Aperture Starting Points
A single portrait, a four-person group, and a wide valley need different focus ranges. Start with the part of your scene that must stay sharp, then select the f-number that gives it enough room.
Scene Types Need Different Focus Ranges
- Single portraits start around f/1.8 to f/2.8 for low light and strong separation behind one face.
- Everyday scenes fit f/4 to f/5.6, keeping your subject and nearby surroundings reasonably sharp.
- Small groups suit f/4 to f/5.6 when faces sit on a similar distance plane.
- Landscapes fit f/8 to f/11, giving foreground detail and distant terrain a deeper sharp span.
- Action scenes fit f/5.6 to f/8 in bright light, where Shutter speed remains high enough for motion.
- Close macro work can need f/8 to f/16, though focus stacking protects detail without pushing too far into Diffraction.
F/5.6 serves as a practical middle setting for travel scenes, street photographs, and small groups. It gives your frame more depth than f/2 while demanding less light than f/11. Shutter speed remains easier to hand-hold in daylight.
Subject Motion Guides Exposure Choices
A dim indoor portrait calls for a wide setting. Set f/2, select about 1/125 second for a still adult, then raise ISO only until your exposure reaches the brightness you want.
A multi-row group needs more room around the focus plane. Stop down toward f/5.6 or f/8, place your focus point on a face near the front-center row, and raise ISO rather than accepting motion blur from a slow shutter.
Bright midday action gives you more latitude. At a youth soccer game, f/5.6 and 1/1000 second can hold a running player sharply while leaving enough field detail to show the play.
Select Depth of field for the subject before chasing low ISO. A clean ISO 100 frame with a soft front row is less useful than a slightly grainier frame with every required face sharp.
Phone Aperture Labels Need Careful Reading
A phone lens labeled f/1.7 has a fixed physical opening in most shooting modes. You cannot mechanically stop it down to f/8 as you would with a mirrorless camera lens.
Your phone still changes exposure through shutter duration and ISO. Portrait mode adds computational blur that can look convincing on a small display, but it does not reproduce every optical transition from a dedicated lens.
These ranges are starting points, not rigid rules. Fine detail, lens behavior, and your shutter-speed limit complete the choice, especially near the smallest lens openings.
Diffraction Limits Very Small Apertures
Closing the lens does not produce endless sharpness. Around f/11 to f/16 and beyond, depending on your camera and lens, light waves spread at aperture edges and soften fine detail through Diffraction.
Diffraction Trades Detail for Greater Focus Depth
Diffraction appears most clearly in leaves, grass, brick texture, and distant lettering viewed at large size. An f/16 landscape can still look stronger than an f/4 landscape because the deeper focus range may matter more than slight loss of micro-detail.
Your lens has a practical sharpness range. Many lenses look very sharp a few stops down from their maximum aperture, such as f/4 or f/5.6 on an f/1.8 prime. Edge performance, field curvature, and focus accuracy also affect your result.
Photograph a detailed scene at every full stop your lens offers, from its widest setting through f/16. Keep focus distance, Shutter speed, and ISO consistent as far as possible, then inspect center detail, corners, and background rendering on a large screen.
Scene Intent Determines the Final Setting
Choose aperture for your subject and required focus range before adjusting the other exposure controls. A face against city lights calls for a wide opening, while a family arranged in three rows calls for a narrower one.
Shutter speed comes next because it controls motion blur. ISO follows as the remaining exposure control, rising only as far as your camera needs after you set focus depth and motion protection.
The 20-60-20 rule is not a standard aperture principle. That phrase does not replace Exposure triangle knowledge, lens limits, or decisions based on the actual distances in your frame.
Aperture Priority Builds Camera Instincts
Set Aperture Priority mode, select a stationary subject with a textured background, and frame it from one position. Photograph the same composition at f/1.8, f/2.8, f/4, f/5.6, f/8, and f/11.
Review the sequence for brightness, background blur, highlight shape, and focus depth. Your camera changes Shutter speed for each frame, making the visual role of aperture easier to see.
Repeat the exercise at a close distance and then farther back. You will see Depth of field change with distance, not only with the f-number, and that knowledge carries into every real shoot.
Technical limits only matter after the subject’s motion, distance, and intended emphasis establish the priority.
Final Aperture Choices Start With Your Subject
Your aperture choice starts with the sharpness pattern you want, not a hunt for the smallest or largest f-number. Open wide for light and separation, stop down for depth, then set Shutter speed for motion and ISO for the remaining exposure gap. That sequence makes how aperture affects photography a deliberate visual control rather than a confusing scale.
FAQ
How does aperture impact a photograph?
Aperture controls how much light reaches your camera sensor and how much depth appears sharp in front of and behind the focus point. A wide setting such as f/1.8 brightens the frame and softens more of the background, while f/11 darkens the frame and extends focus depth.
What is aperture in photography and what do f-stop numbers mean?
Aperture is the adjustable opening inside your lens, controlled by the Iris diaphragm. F-stop numbers describe the opening size as a ratio: f/1.8 is wide, while f/16 is narrow. Each full stop changes the amount of lens light by a factor of two.
Why does a wider aperture create a blurry background?
A wider setting narrows the Depth of field, leaving less distance sharply focused around your subject. Background blur becomes stronger when you stand close to your subject and place that subject far from the background.
How does aperture affect brightness and exposure?
A wider opening lets more light reach your sensor during the same exposure time, making the frame brighter. Your camera can then use a faster Shutter speed or lower ISO. A narrower opening needs a slower shutter, higher ISO, or brighter light.
What is a f/5.6 aperture good for?
F/5.6 suits travel scenes, street photographs, small groups, and daylight action because it gives useful Depth of field without the light loss of f/11. Your subject and nearby surroundings can stay sharp while Shutter speed remains practical in moderate or bright light.
Is f/1.8 or f/2.2 better?
F/1.8 suits dim light and portraits where you want stronger background separation. F/2.2 gives slightly more Depth of field and focus tolerance, which helps with close portraits, subtle subject movement, or scenes where both eyes need sharper detail.